Command Palette
Search for a command to run...
Online Tutorial | Precise Image Layering: Qwen-Image-Layered Overcomes the Pain Points of Target Layer Editing, Achieving Both High Fidelity and consistency.
The Qwen team has released a brand-new image editing model that allows users to "point and edit" any area with a single click.
Currently, the inability to truly operate layers independently remains a pain point in mainstream AI image editing. Most models are essentially still centered on the generation and redrawing of whole-image pixels, with foreground, background, and lighting highly coupled in the latent space. So-called "layered editing" is more of a local regeneration based on masks, and does not possess the concept of sustainable objects and layers. There is an urgent need to introduce structure-aware and object-level layer modeling capabilities.
On December 24, 2025, the Qwen team released the Qwen-Image-Layered model, which achieves high-fidelity and consistent editing by physically isolating semantic or structural components into different layers. This model can decompose an image into multiple RGBA layers, thus giving the image inherent editability: each layer can be manipulated independently without affecting other content. Furthermore, this layered representation ensures the quality of the image itself; operations such as resizing, repositioning, and recoloring do not affect the image's high fidelity.
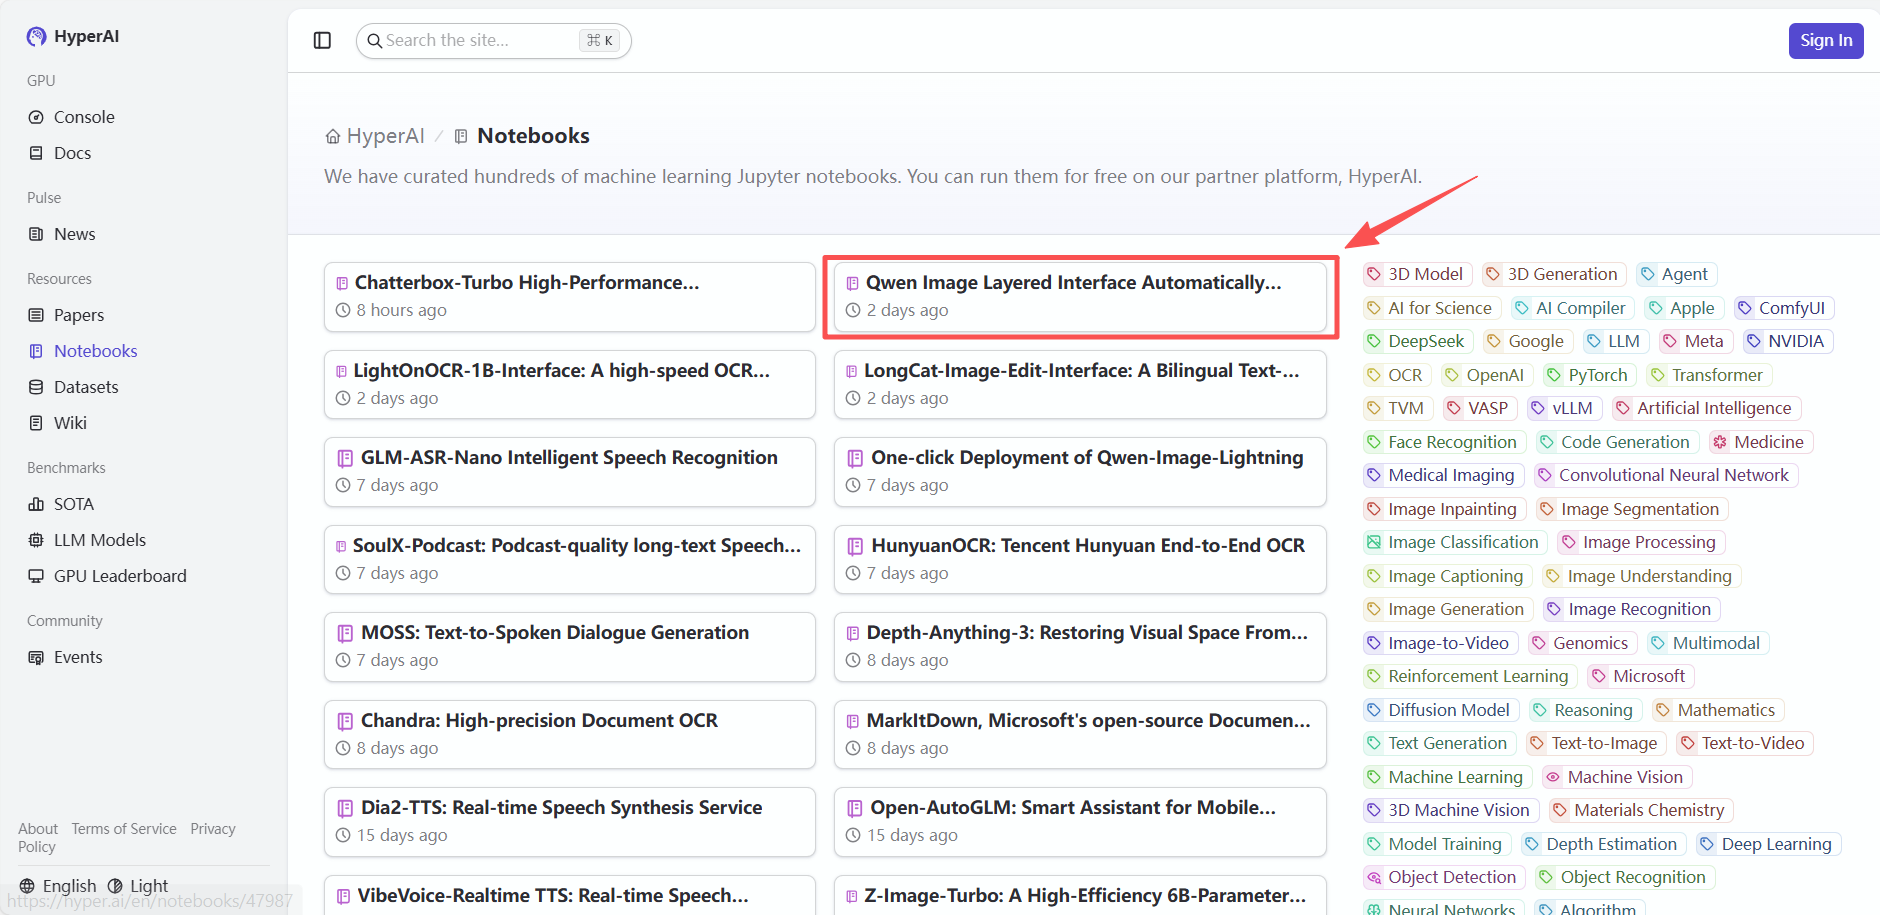
Currently, "Qwen Image Layered Interface Automatically Splits Multiple Layers" has been launched on the tutorial section of the HyperAI website (hyper.ai), allowing users to experience image layering editing online with a single click.
Tutorial Link:
View related papers:
https://hyper.ai/cn/papers/2512.15603
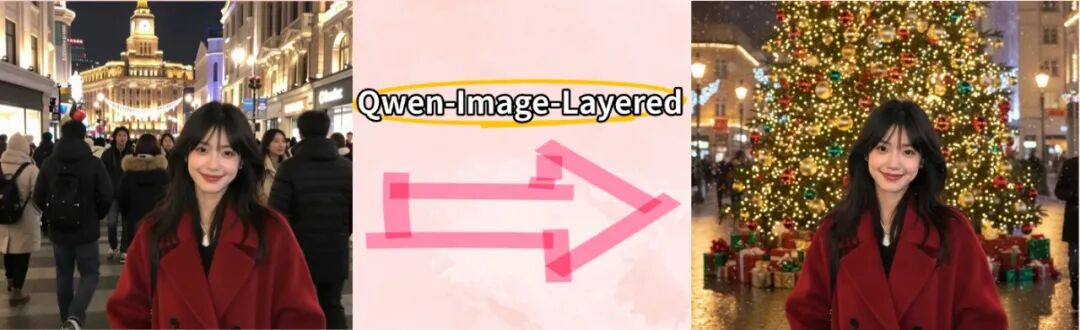
Just in time for Christmas, HyperAI has prepared a Christmas surprise for everyone! New users who register can use the redemption code "Merry Christmas" to receive 2 hours of NVIDIA GeForce RTX 5090 usage time. Limited quantities available, so hurry and claim your holiday bonus! This tutorial uses travel photos as an example to easily change the background and transform the atmosphere for Christmas through image layering! ⬇️
Demo Run
1. After entering the hyper.ai homepage, select "3D Christmas Tree Based on Gesture Recognition" or go to the "Tutorials" page to select it. Then click "Run this tutorial online".

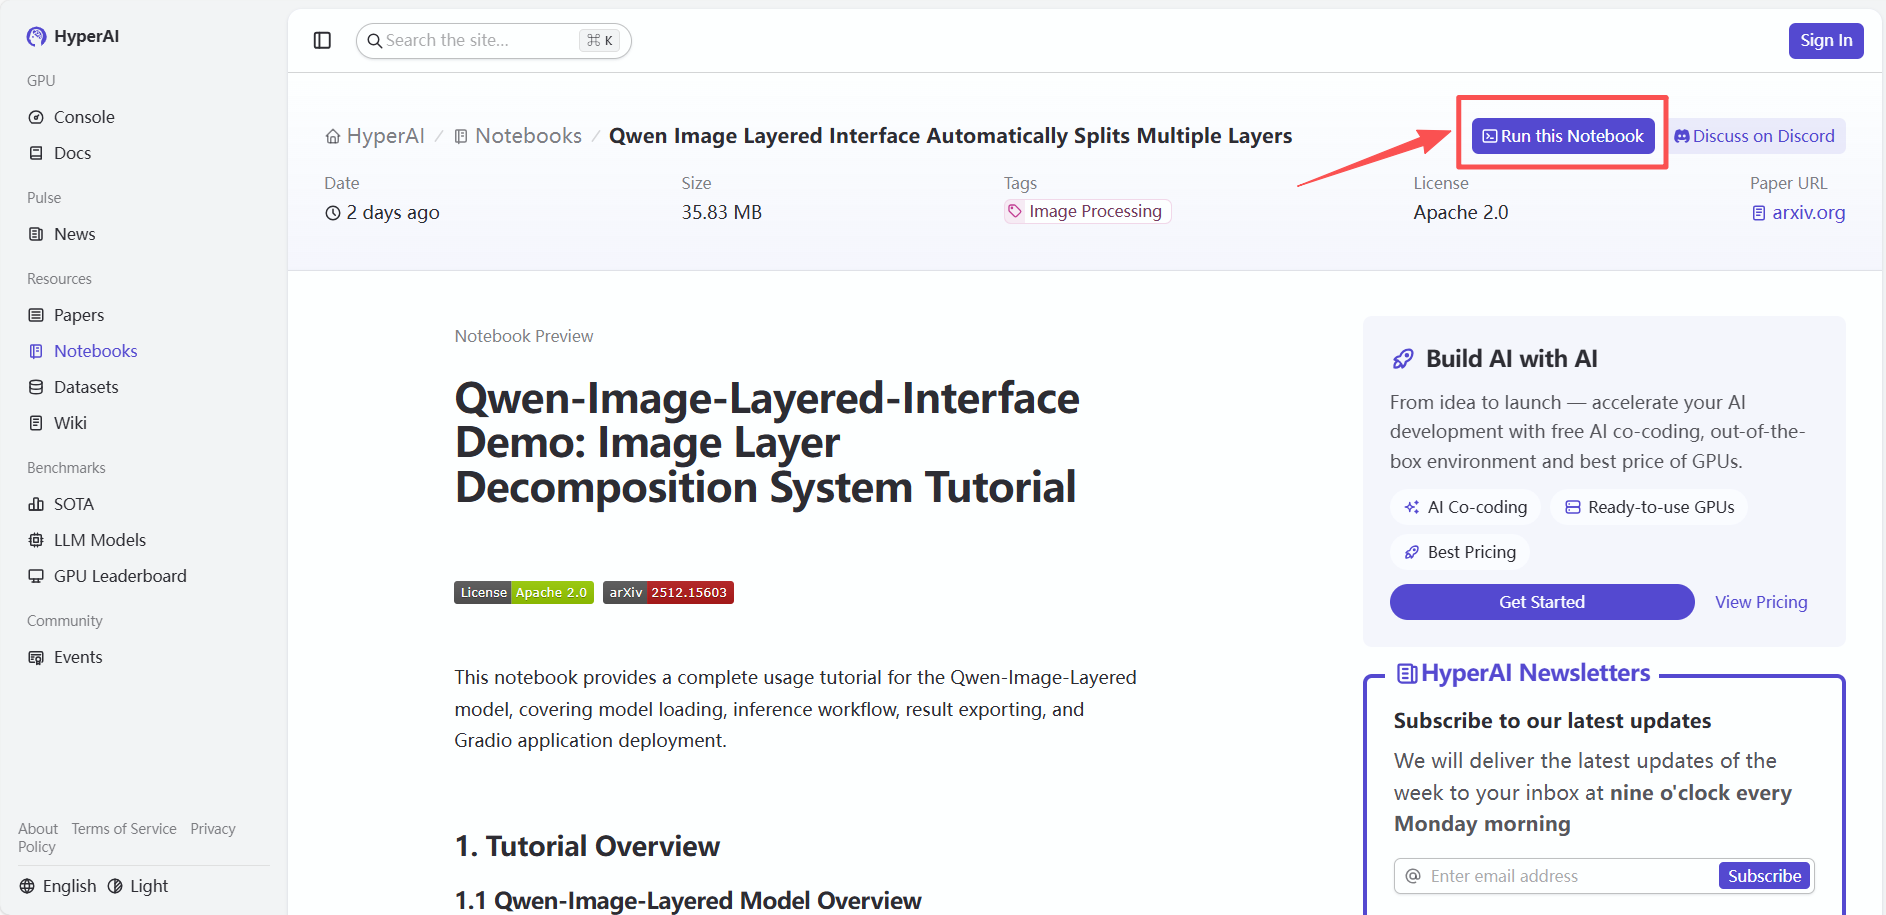
2. After the page redirects, click "Clone" in the upper right corner to clone the tutorial into your own container.
Note: You can switch languages in the upper right corner of the page. Currently, Chinese and English are available. This tutorial will show the steps in English.

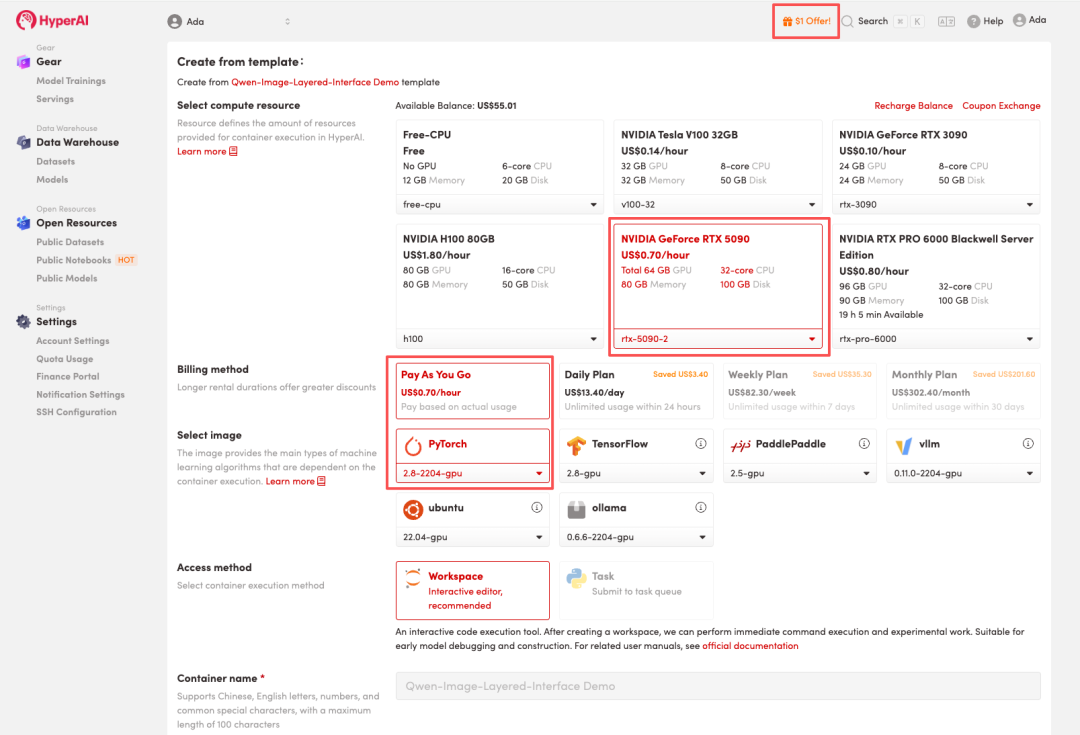
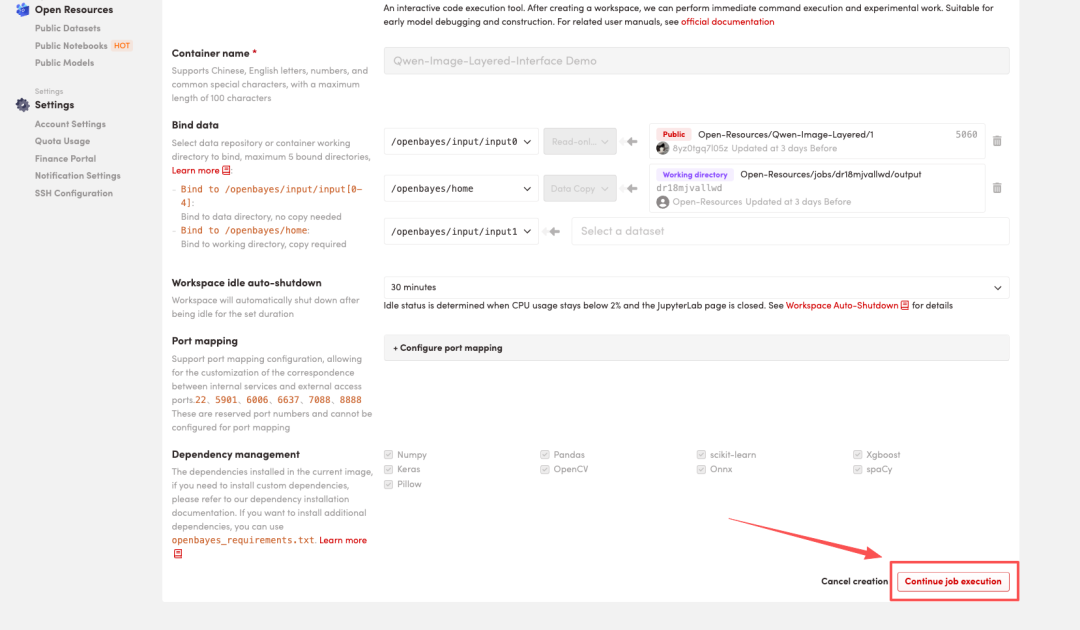
3. Select the "NVIDIA GeForce RTX 5090-2" and "PyTorch" images, and choose "Pay As You Go" or "Daily Plan/Weekly Plan/Monthly Plan" as needed, then click "Continue job execution".
HyperAI is offering a registration bonus for new users: for just $1, you can get 5 hours of RTX 5090 computing power (originally priced at $2.45), and the resources are valid indefinitely.
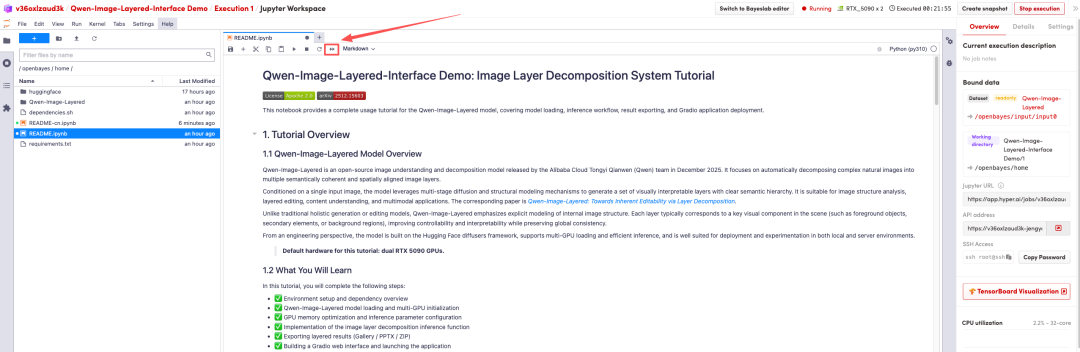
4. Wait for resources to be allocated. Once the status changes to "Running", click "Open Workspace" to enter the Jupyter Workspace.
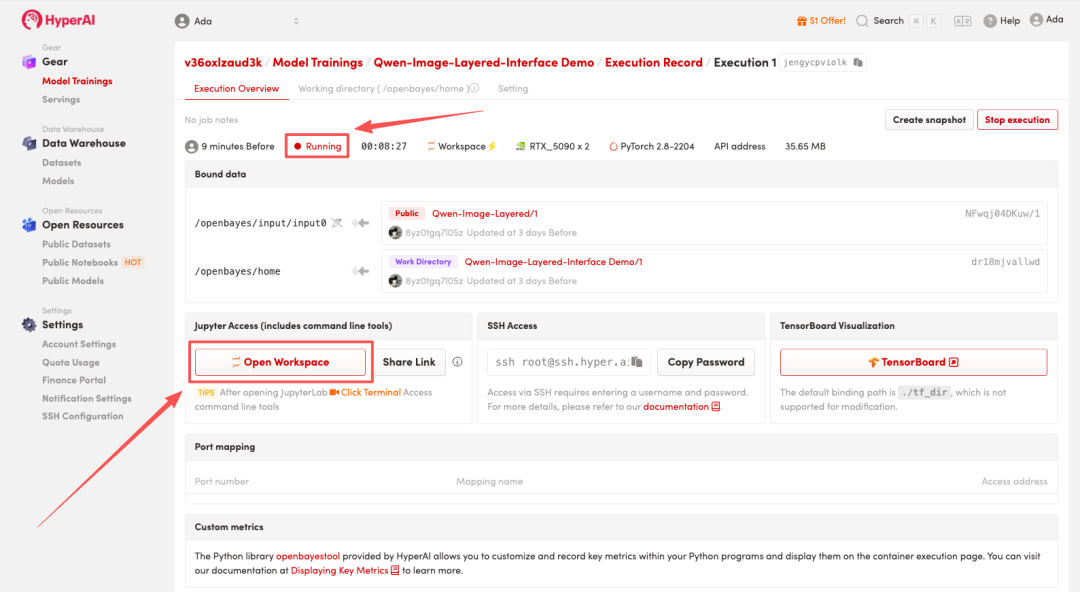
5. After the page redirects, click the Run button to run the Notebook with one click. This Notebook has already completed the relevant environment and WebUI interface setup. After running, a Grado preview will be displayed at the bottom of the page. You can then click the link above the preview or the API link on the right to jump to the Demo page.

Effect Demonstration
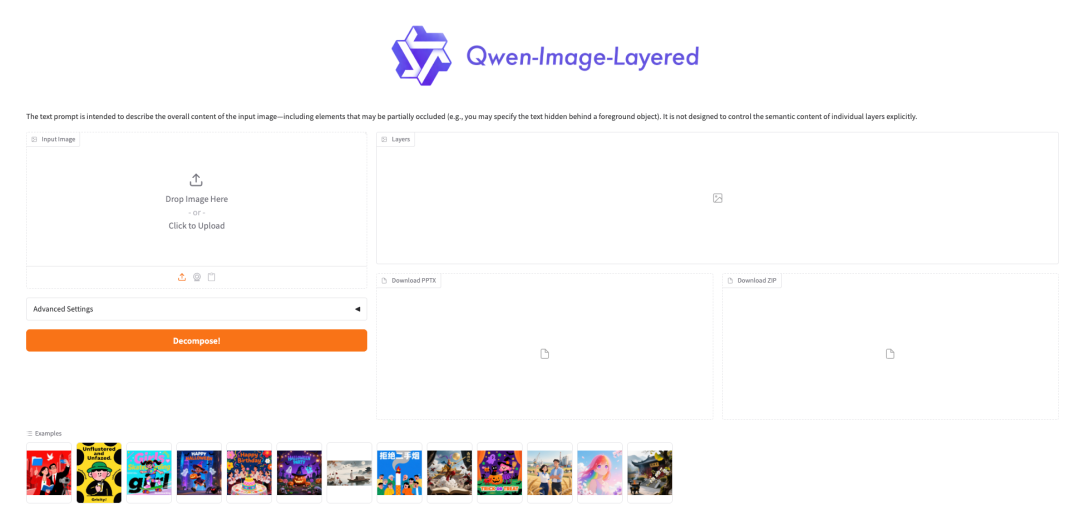
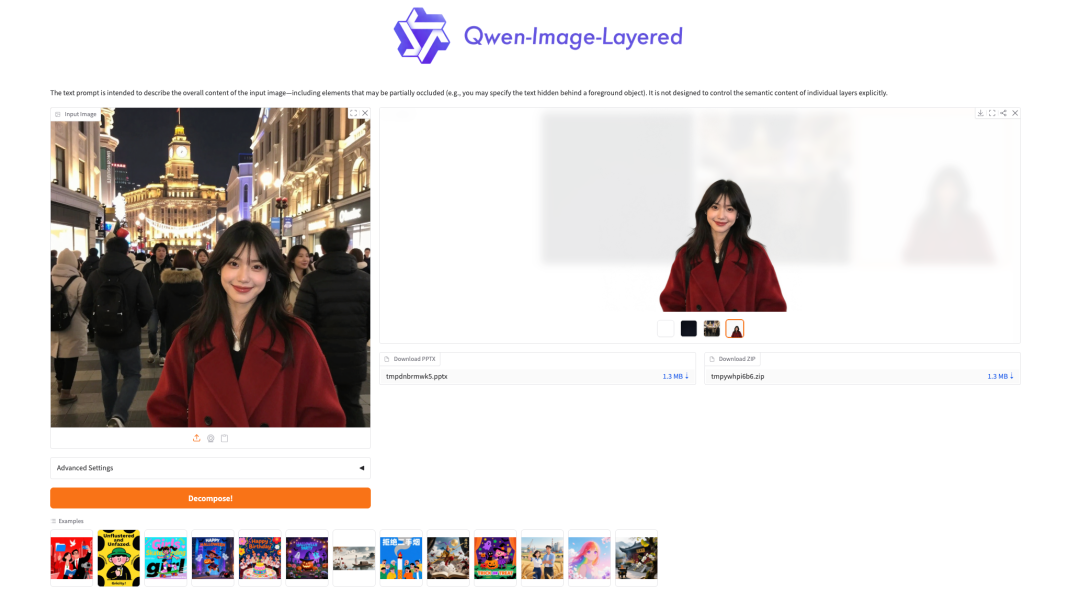
After entering the Demo running page, upload your image and click "Decompose" to start separating the layers. It provides two download formats: PPT and PNG images.
This tutorial uses travel photos as an example to show you how to easily change the background and create a Christmas atmosphere through image layering!

The above is the tutorial recommended by HyperAI this time. Everyone is welcome to come and experience it!
Tutorial Link: