Command Palette
Search for a command to run...
TripoSG: Transform a Single Image Into high-fidelity 3D in Seconds
TripoSG: High-fidelity 3D shape synthesis using a large-scale rectified flow model

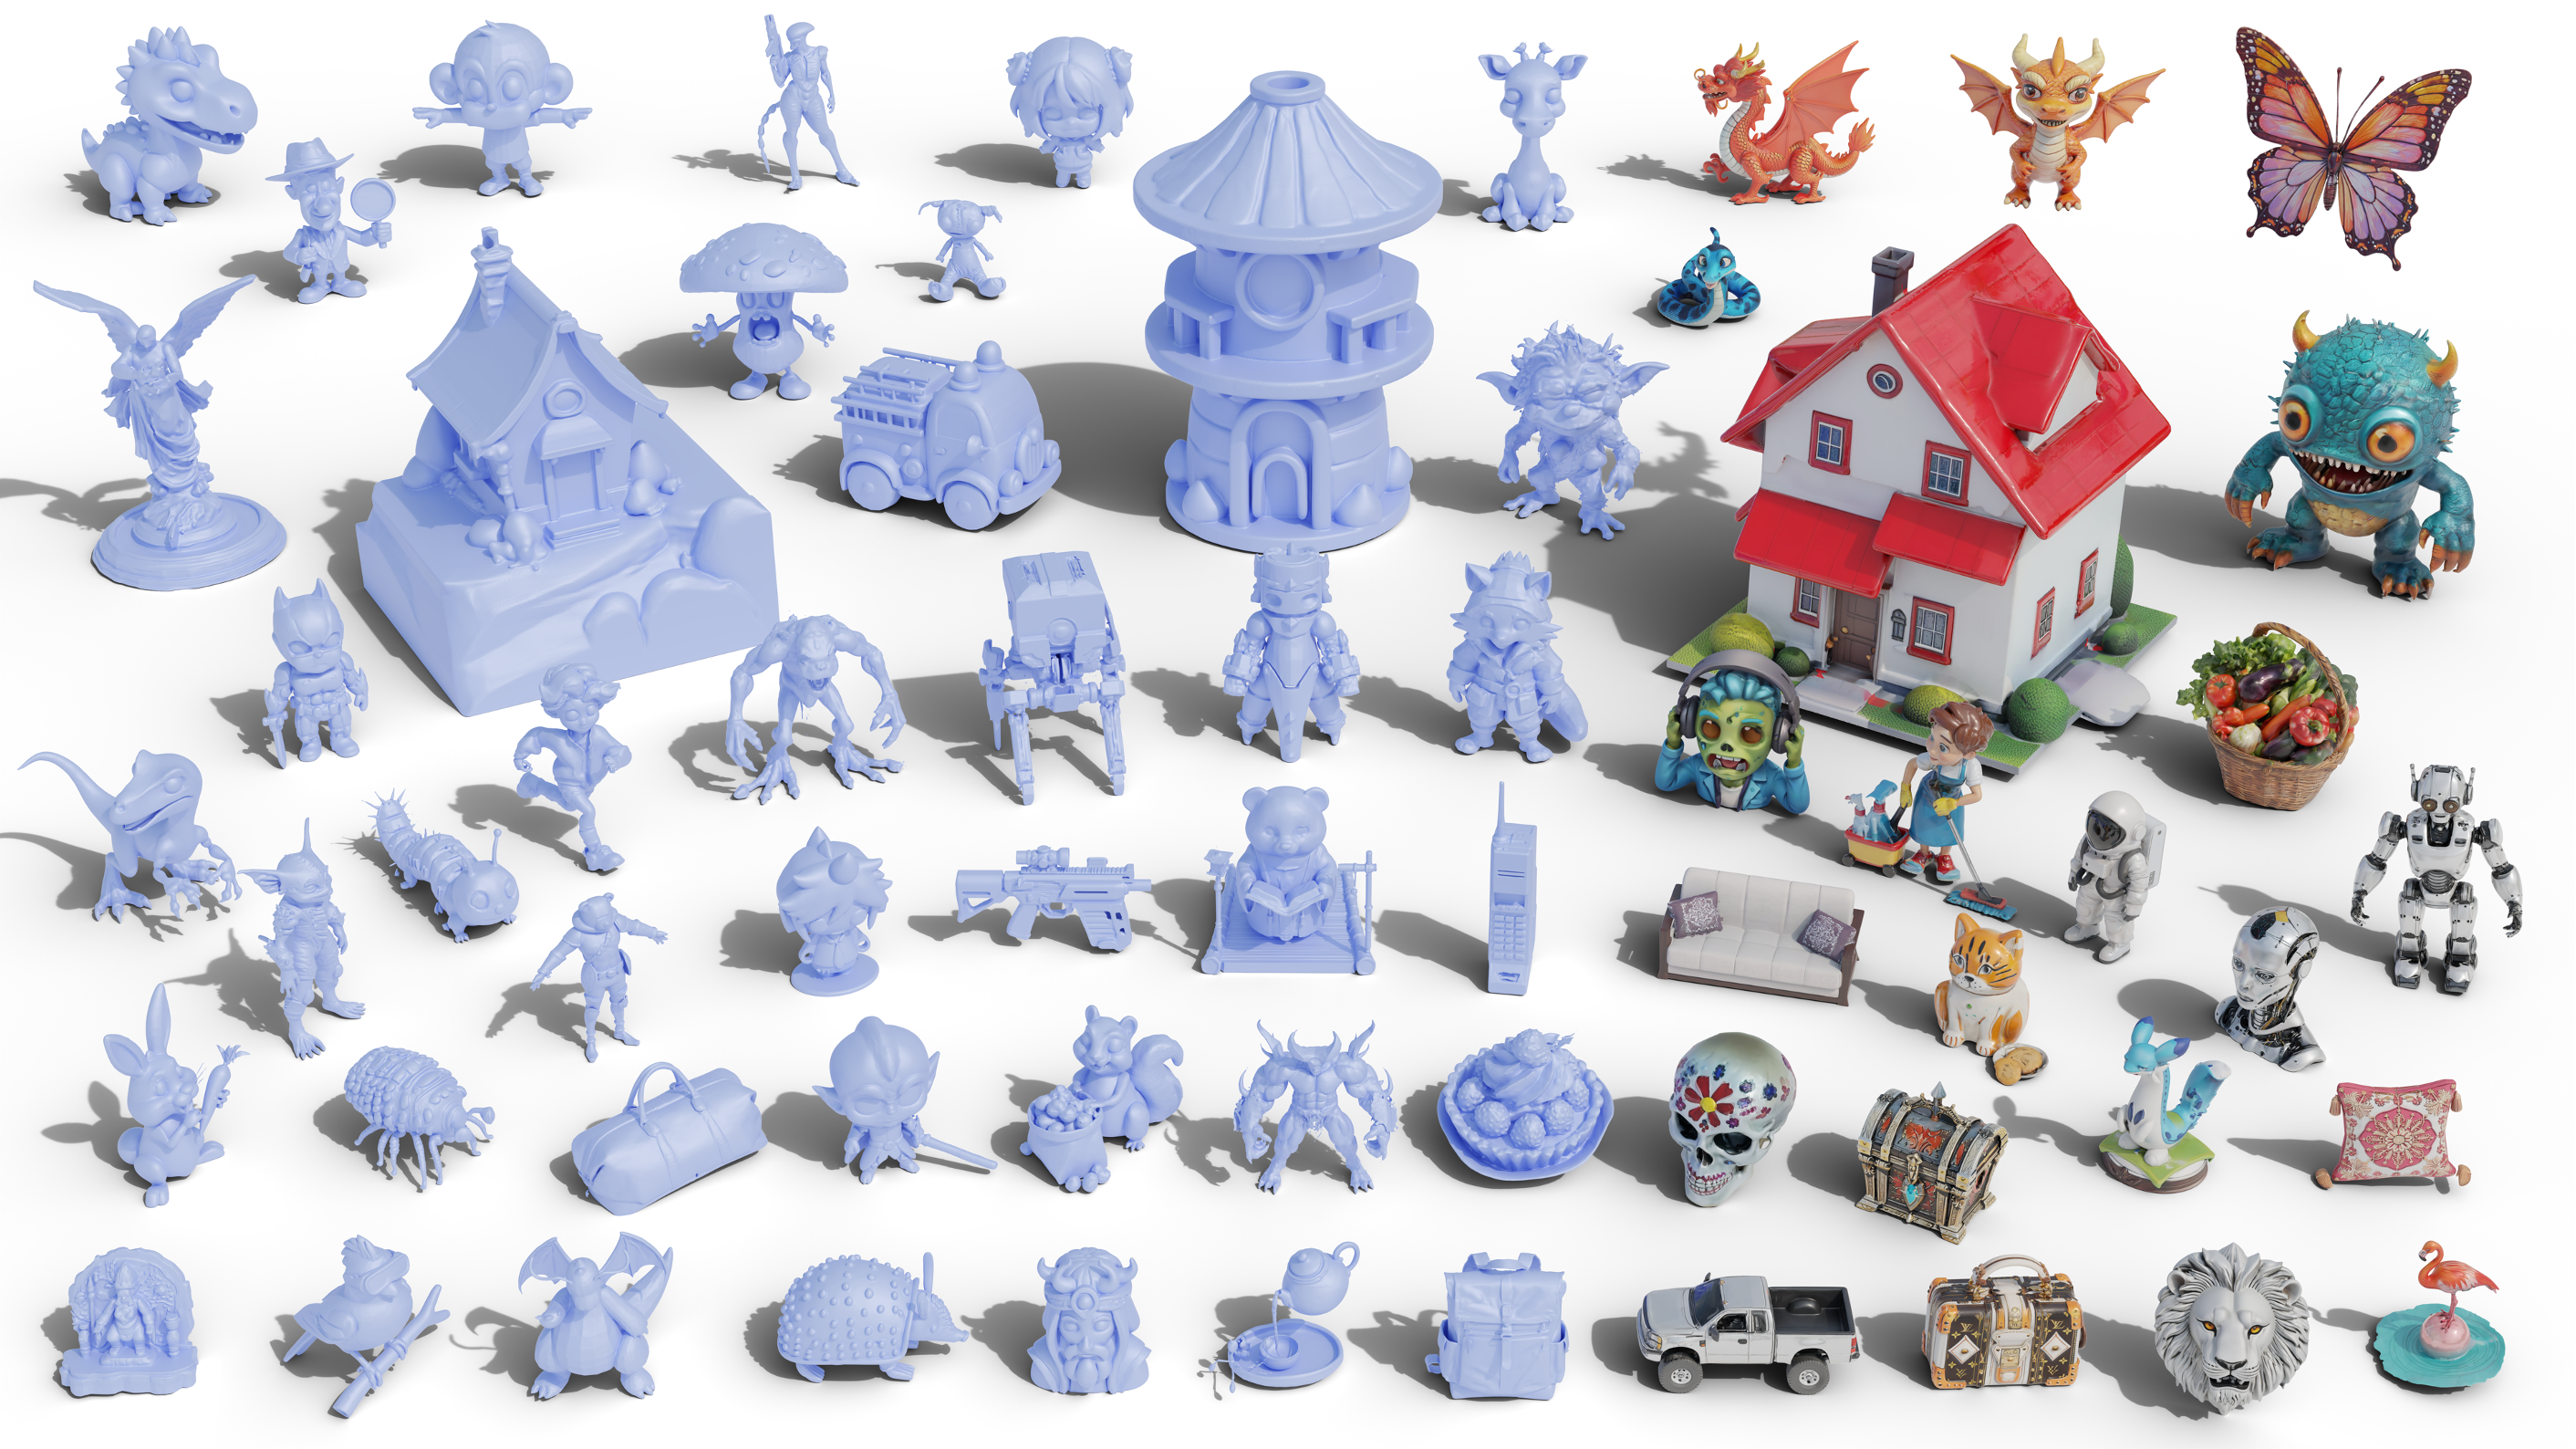
Effect examples
1. Tutorial Introduction
TripoSG is an advanced high-fidelity, high-quality, and high-generalizability image-to-3D generative base model. It leverages large-scale rectified transformers, hybrid supervised training, and high-quality datasets to achieve state-of-the-art performance in 3D shape generation.
✨ Core Features
- High-fidelity generation: Generate mesh models with sharp geometric features, fine surface details and complex structures
- Semantic consistency: The generated shape accurately reflects the semantic and appearance characteristics of the input image
- Strong generalization ability: Compatible with a variety of input styles, including realistic photos, cartoon illustrations and sketches
- Robust performance: Generate coherent shapes even when faced with challenging inputs with complex topologies
🔬 Technical highlights
- Large scale corrected flow transformer: Combining RF linear trajectory modeling with transformer architecture to achieve stable and efficient training
- Advanced VAE Architecture:Using signed distance function (SDF), through mixed supervision training of SDF loss, surface normal guidance and eikonal loss
- High-quality datasets: Trained on 2 million carefully selected image-SDF pairs to ensure excellent output quality
- Efficient expansion: Implemented architectural optimizations to maintain high performance even for smaller models
This tutorial uses the combination of TripoSG and RMBG models as a demonstration, and the computing resource uses RTX4090.
2. Operation steps
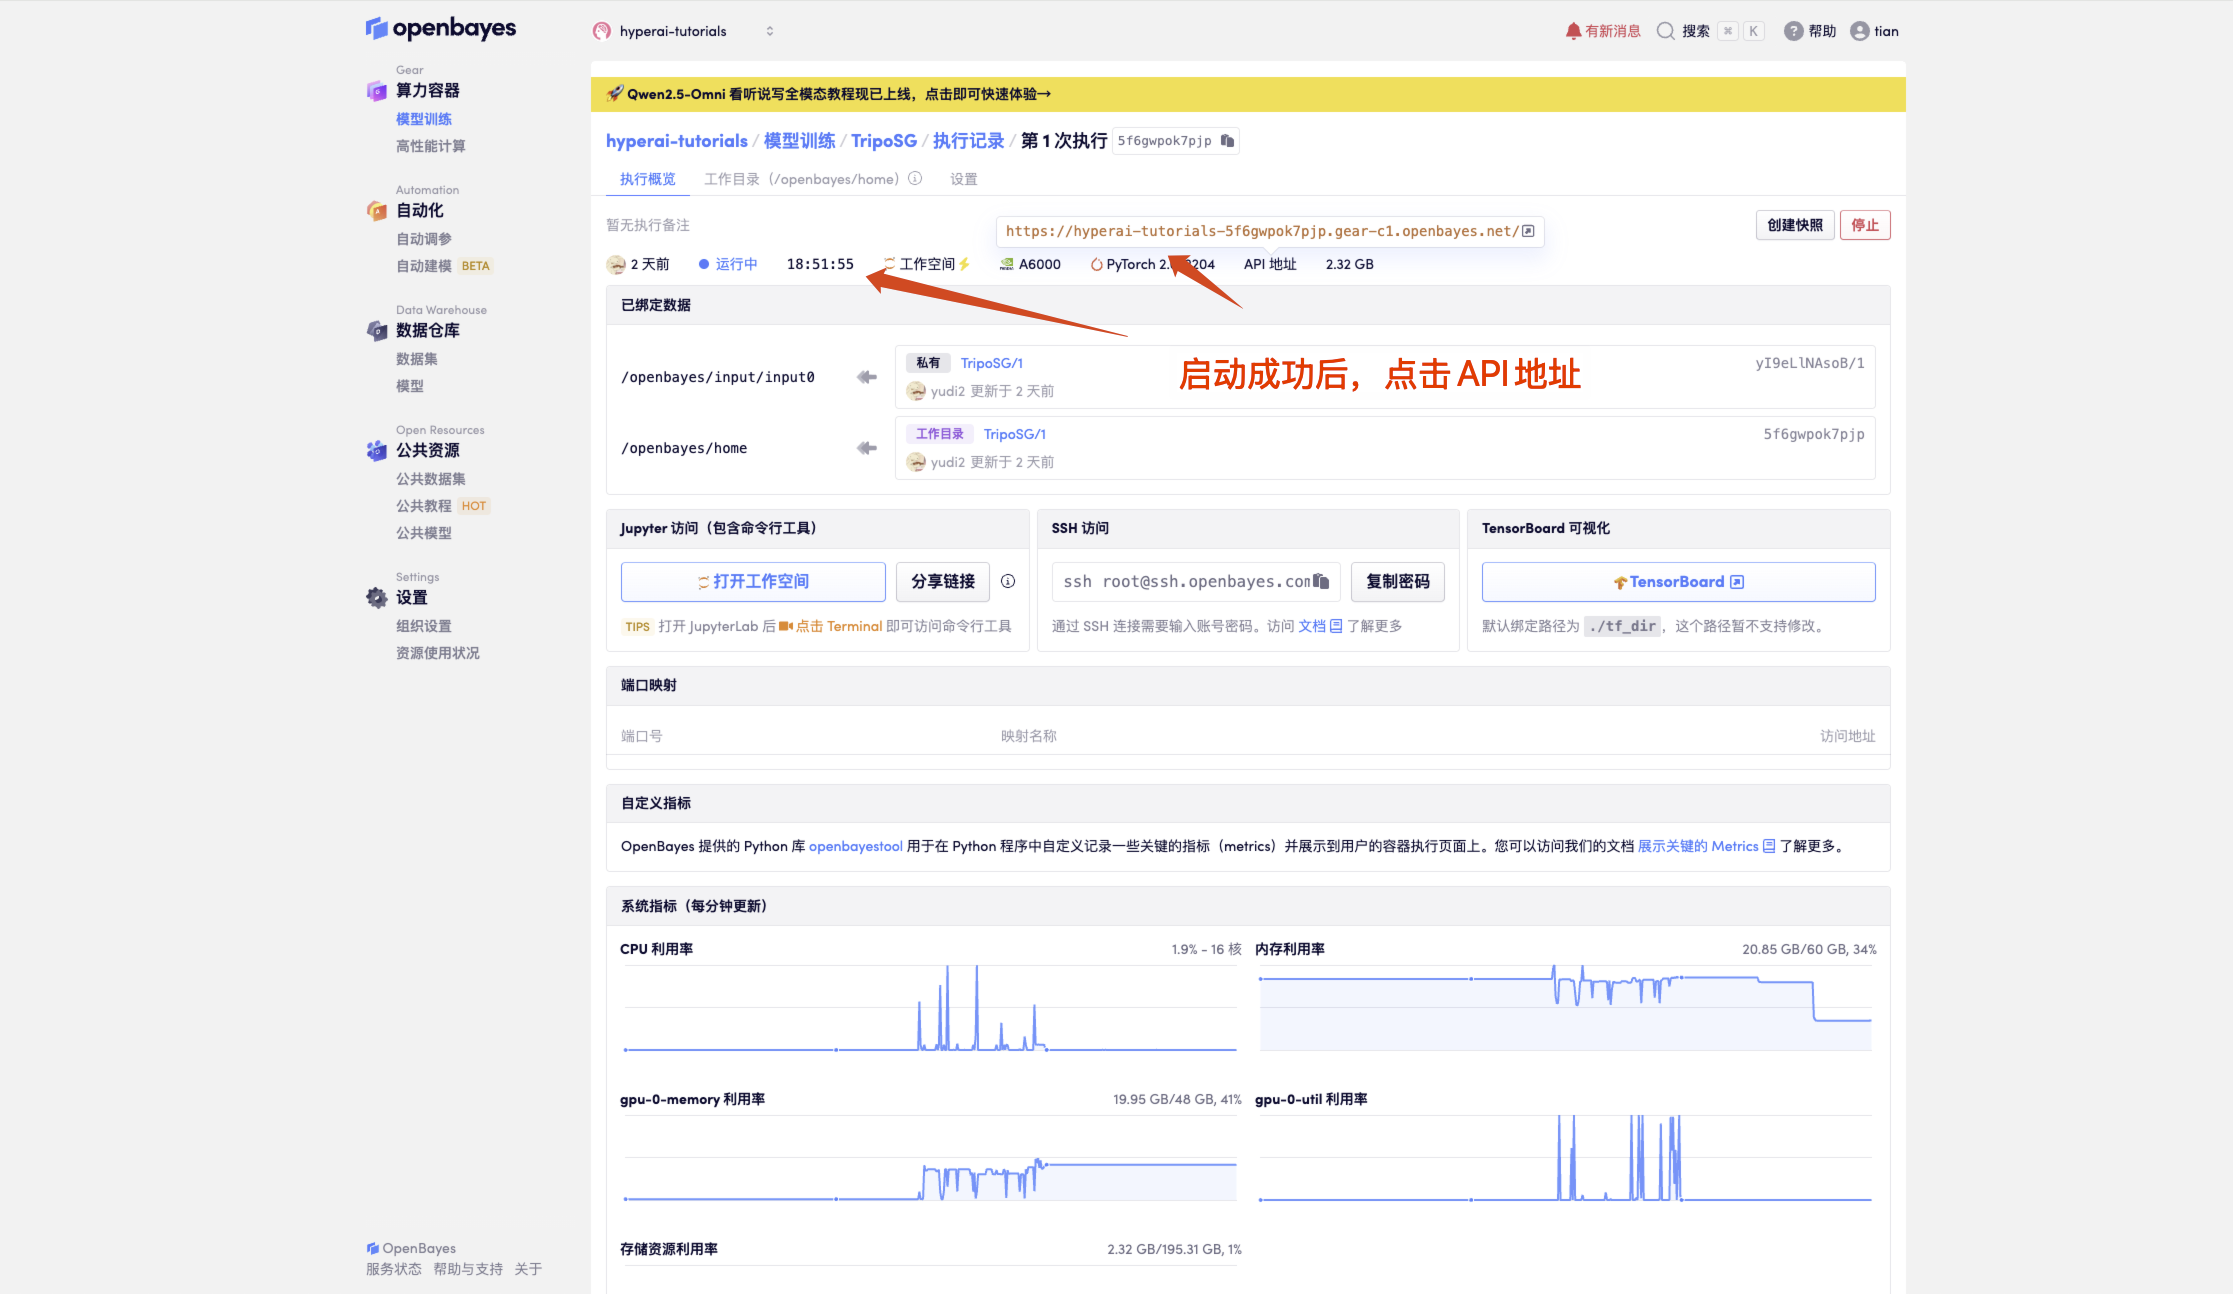
1. After starting the container, click the API address to enter the Web interface
If "Model" is not displayed, it means the model is initializing. Please wait about 1-2 minutes and refresh the page.
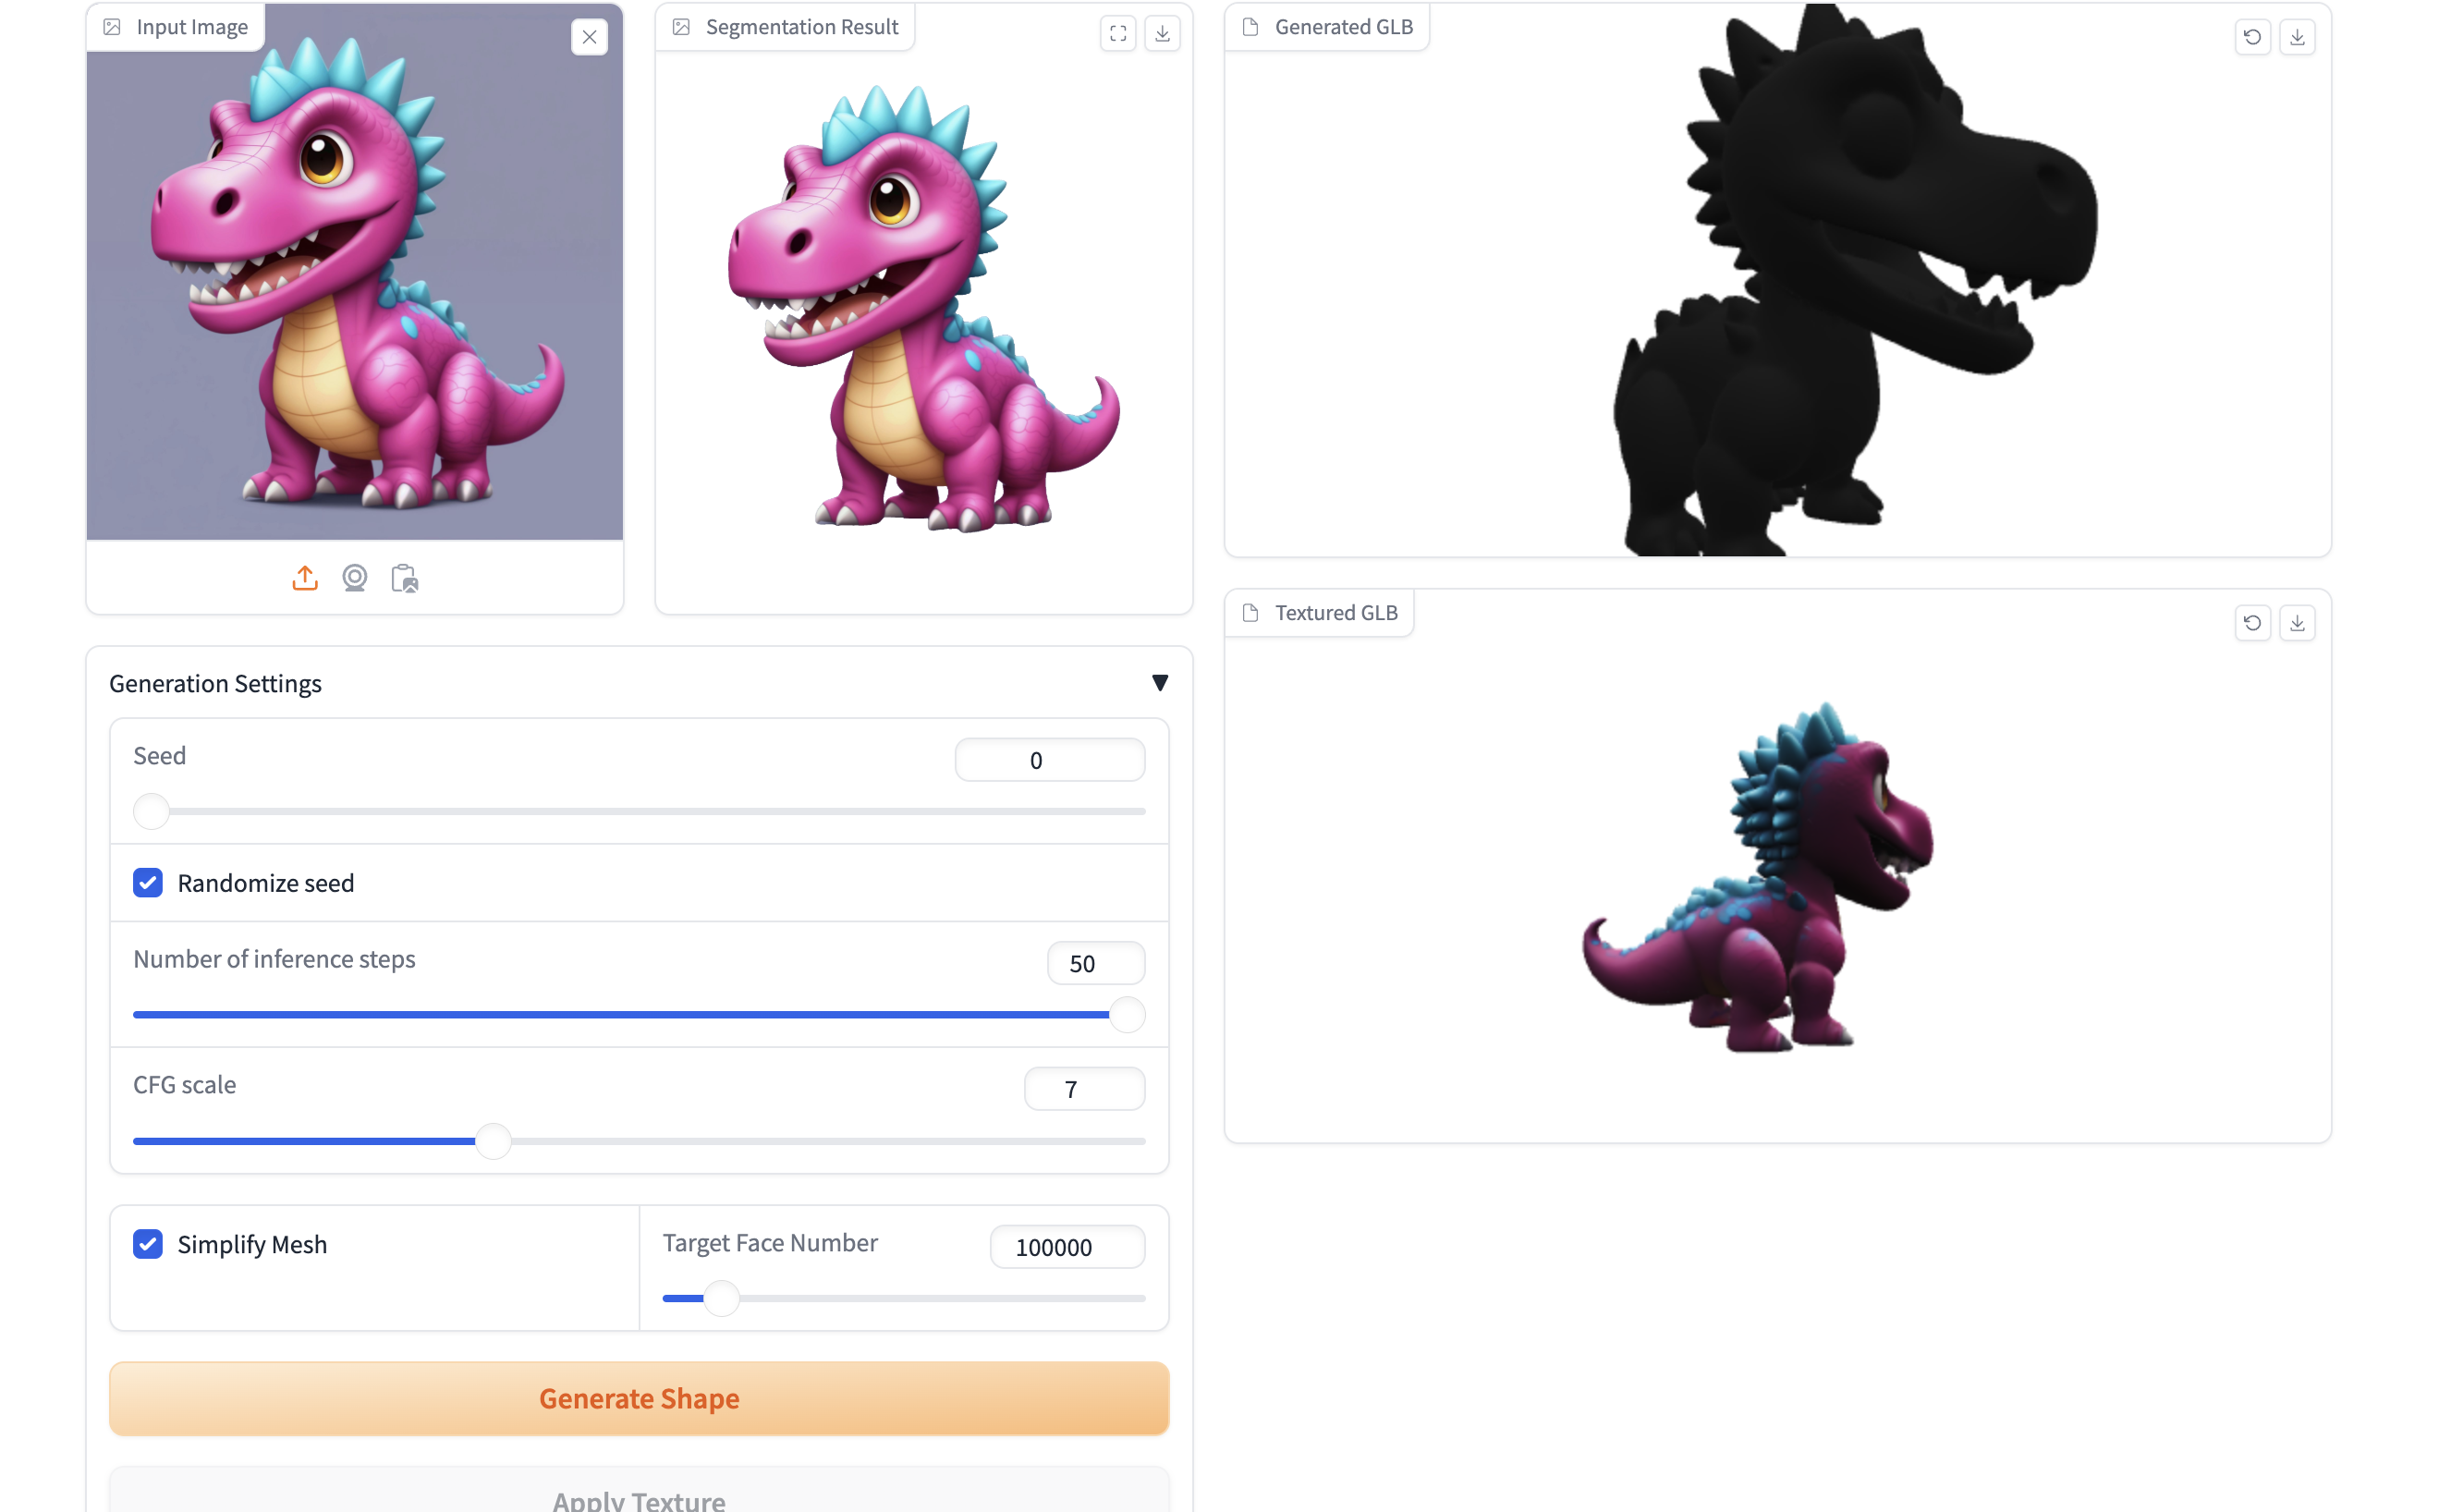
2. Once you enter the website, you can start using
How to use
- 1. Upload an image (single object works best)
- 2. Click Generate Shape to create a 3D mesh
- 3. Click Apply Texture to add the texture.
- 4. Save your 3D model using Download GLB
- 5. Adjust the parameters under Build Settings for fine tuning
- 6. Demonstration Example

Exchange and discussion
🖌️ If you see a high-quality project, please leave a message in the background to recommend it! In addition, we have also established a tutorial exchange group. Welcome friends to scan the QR code and remark [SD Tutorial] to join the group to discuss various technical issues and share application effects↓ 
Build AI with AI
From idea to launch — accelerate your AI development with free AI co-coding, out-of-the-box environment and best price of GPUs.